FACS 460: Interior Design IV
Mixed-Use Urban In-Fill Project

1020 and 1022 Main Street, Lynchburg, VA, 24504
For this Interior Design Project, we were given the opportunity to design a Mixed-Use Urban In-Fill Project for 1020 and 1022 Main Street, located in Downtown Lynchburg. There were no perimeters given for this assignment, each student was given the opportunity to design their own unique buildings based on research into Downtown Lyncburg's needs.
For my design, I created a 7-story building that would provide a comfortable space for the community to come together and share. This design inspires to provide a flexible environment that adapts to diverse lifestyles by creating dynamic and visually engaging living spaces.
The courtyard, at the core of my design, serves as a focal point - Its lush greenery and thoughtfully curated landscaping create a serene retreat, offering a visual respite from the surrounding built environment.
Large arch framing strategically dissolves the boundaries between the inside and outside, inviting natural light to permeate and breathe life into the living spaces.
My design takes cues from the courtyard's organic elements. Earthy tones and textures, inspired by the natural landscape, infuse warmth and character into the living spaces.


DESIGN PROCESS : ADJACENCY MATRIX & BUBBLE DIAGRAMS
To begin this project, following the Schematic Design Phases, I created an adjacency matrix to show what key occupancies I wanted to include in my building, as well as the relationships they had with the spaces within them.
Once that was complete, I moved on to bubble diagrams. Taking the information from the matrixes, I created bubble diagrams for each of the occupancies on each floor and showed where they would be located around each other.
Utilizing this key part of the design process allows for your thoughts and inspirations to come together to form a more concrete idea of what you are designing.

Maintenance/Delivery Area


Maintenance/Delivery Area
DESIGN PROCESS : BLOCKING PLAN
The next step of the design process is the blocking plans. Once you have your adjacency matrix and bubble diagrams completed, it will help you map out the key areas needed for your blocking plans. The blocking plans were designed using the matrixes and bubble diagrams, and putting them into the layout of the building. The lot is 150 by 50, although since I am utilizing the use of a courtyard, the building will be set back to be 85' by 50'. This stage of the design process allowed for my design to be able to look more like a floor plan.

Maintenance/Delivery Area


Maintenance/Delivery Area
PRELIMINARY PLANS
Once the blocking plans are completed, it is time to start putting the spaces into floor plans. The preliminary plans are certainly a rough draft before the final floor plans. After completing my preliminary plans, I was able to see what I needed to change and get feedback from my professors on what they thought needed to be refined.
We were asked to choose a key area of our building and we would complete a full furniture plan and reflected ceiling plan for it. The key area I chose to focus on is my cafe. This is one of my most important spaces for it is on the main floor and the first space you enter in from the courtyard.


CONCEPT SKETCHES
To gain a better visual of what are design was to look like, I created some concept sketches of all the different parts of my building design. Although these designs are just rough visuals and not fully drawn out, they still allowed me to show what my ideas were.
REFINED PLAN SET


Describe your image

The last step of designing the floor plans is the refined plans. The refined plans are the floor plans that are created after fixing the mistakes of the preliminary plans. Once we plan are fixed, the plans are bonded together with a cover sheet and life safety plans. The life safety plans show how each floor can exit the building in case of an emergency. The cover sheet includes a site location and an index that shows which page has which plan.
3-D Renderings

Describe your image


Describe your image
Describe your image
One of my favorite parts about this project is being able to 3-D model how I would like each of the spaces to look. I would have loved to have a little more time to complete each of the spaces, but at least I was able to do my key area, the cafe.
The software I used to complete these renderings is Lumion. This was my first time using Lumion and let's just say, this program is amazing! Compared to SketchUp's Podium renderings, which take hours to complete and may need to be adjusted, Lumion was easy to use and created my realistically rendered image in seconds! I love being able to find new software that has new features or easier features to create my design!
FF&E


Describe your image
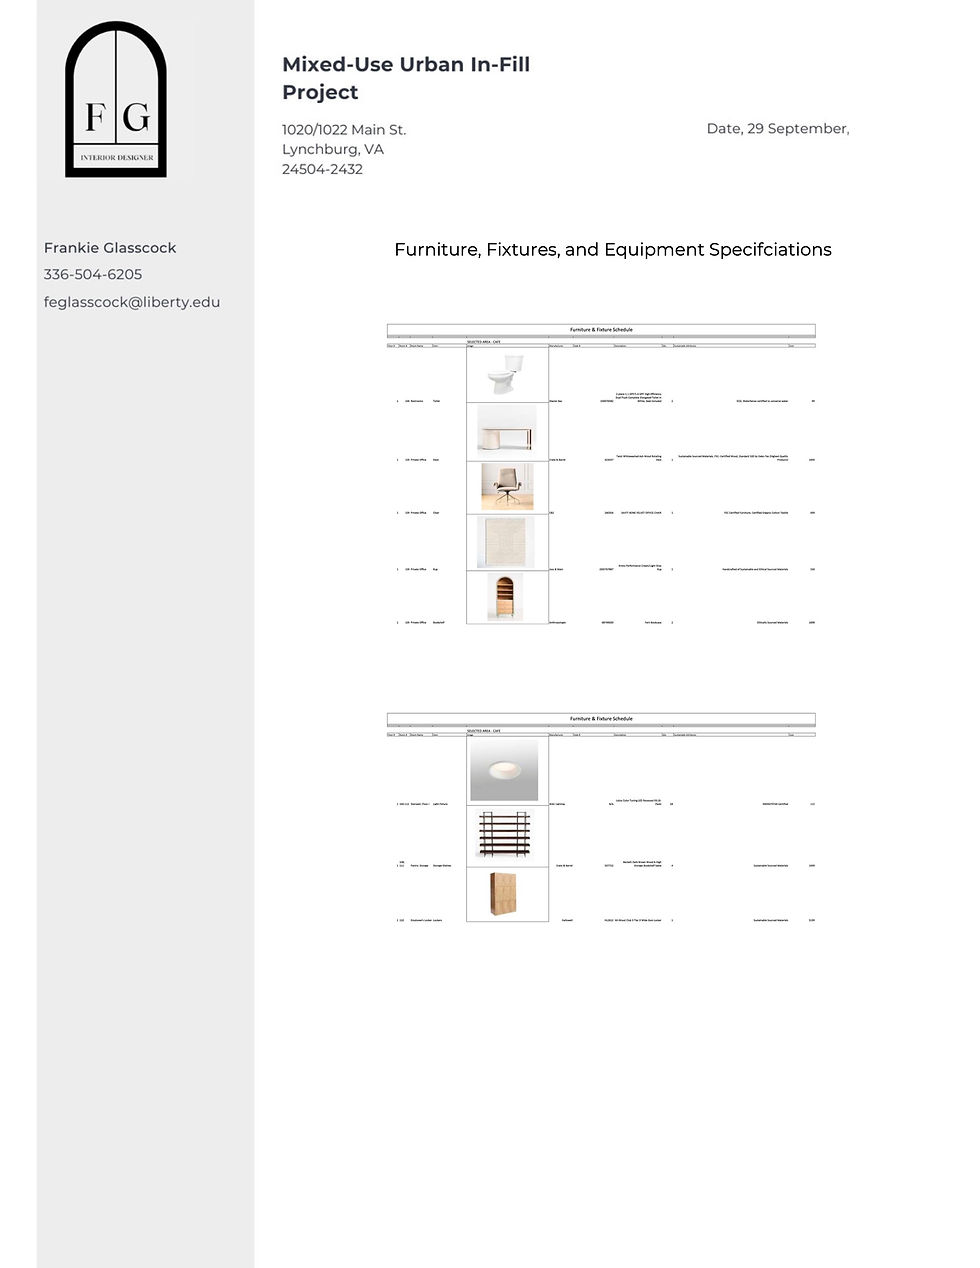
For the key area, I created an FF&E schedule that includes all of the paint, finishes, fixtures, trim, etc. that would be going into this space. It includes the seating area, restrooms, kitchen, pantry, employee locker, private office, and storage, as well as corridor spaces and elevator/stairwells.
My goal when picking out key FF&E was to create an organic-style cafe. I wanted lots of natural tones and textures such as stone, and wood, and lighting that was similar to natural light and not too bright. It was a fun experience being able to pick furniture and fixtures from stores that I love such as Crate & barrel, Anthropologie, and West elm.
3-D Model
My favorite part of the design process is when I am able to complete a 3-D model to showcase my vision. I feel like the best way to show your design of is through 3-D modeling and rendering because it gives you a realistic view of what your design will look like.
Also, like I said this was my first time using Lumion and it was such a great experience! There are some learning curves in this video however, I did not notuce some of my finishes were not applied or materials were not modeled but I am happy with the way this turned out!


Poster Presentation